TILE STENCIL SIZING GUIDE
MEASURING YOUR TILES
Using a tape measure, measure your tile from one edge to the other. Make sure you don't include any of your grout space and the tape needs to be straight, not at a slant or diagonal.
If your tile has a slight curve around the edge, move your tape measure to where the tile is flat and level. You only want to measure the surface area you will be stenciling.
Measure to the nearest mm or 1/8 inch, don't be tempted to round up, the more accurate the better!

-
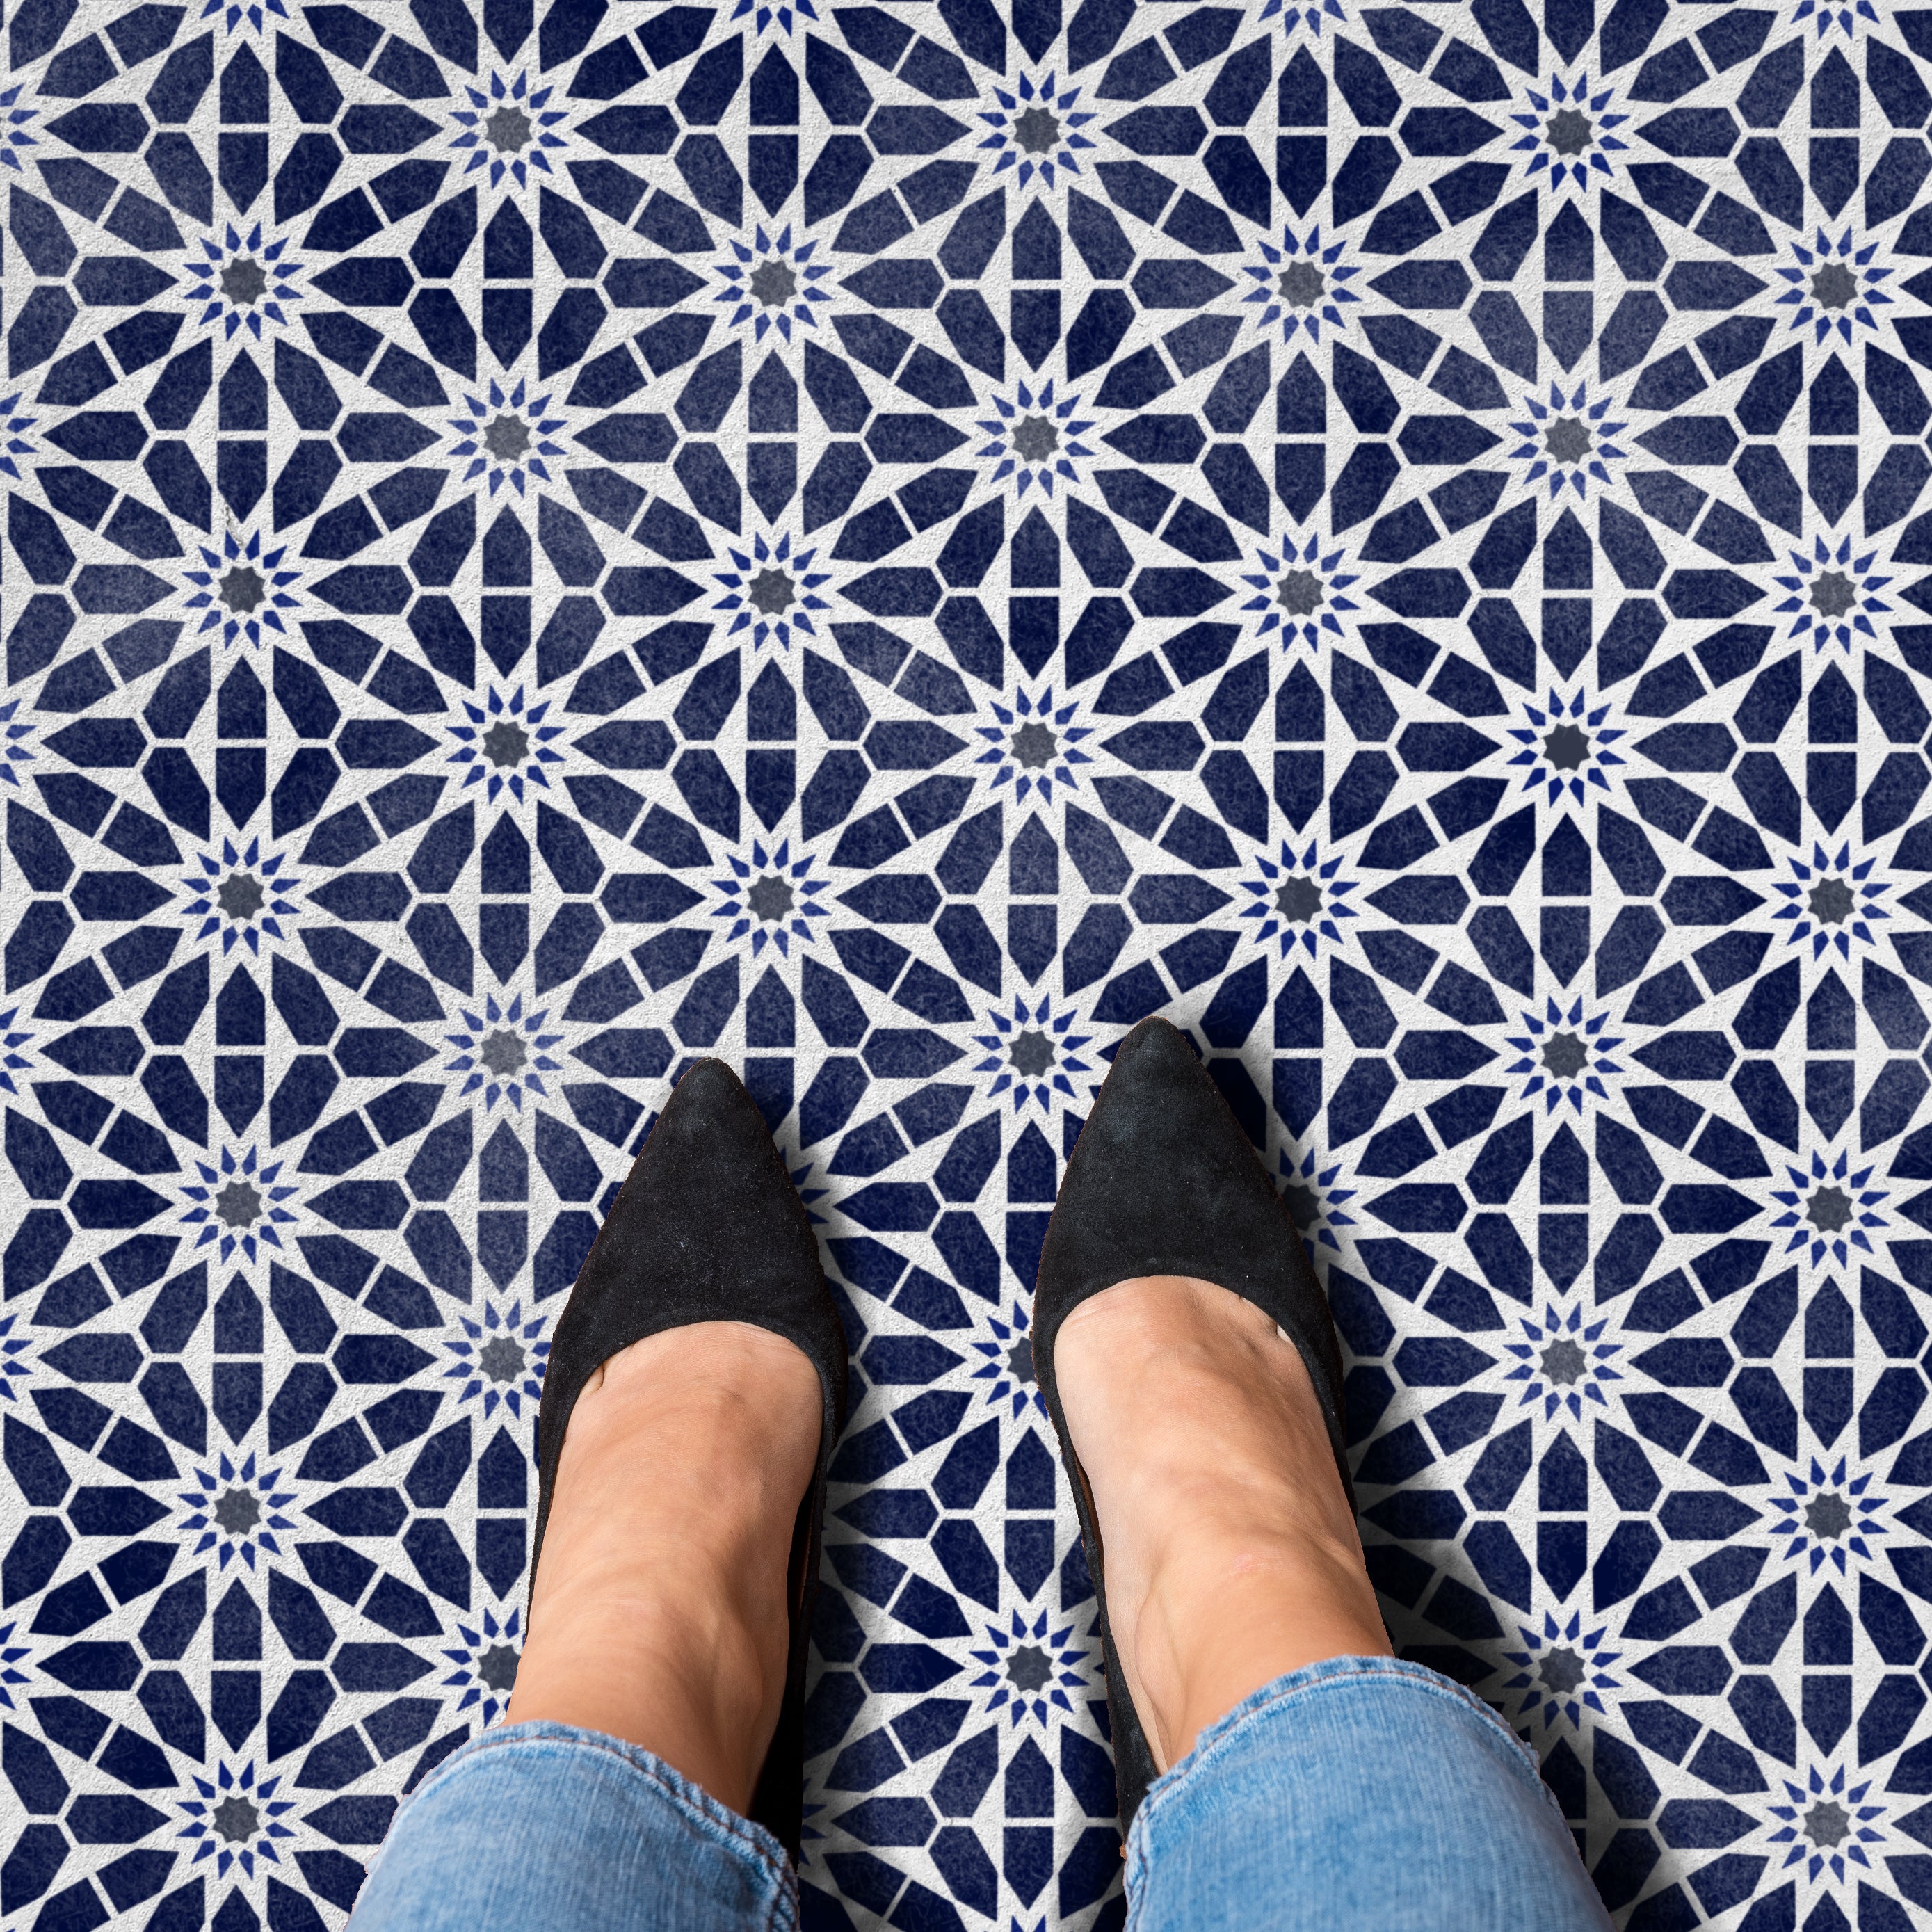
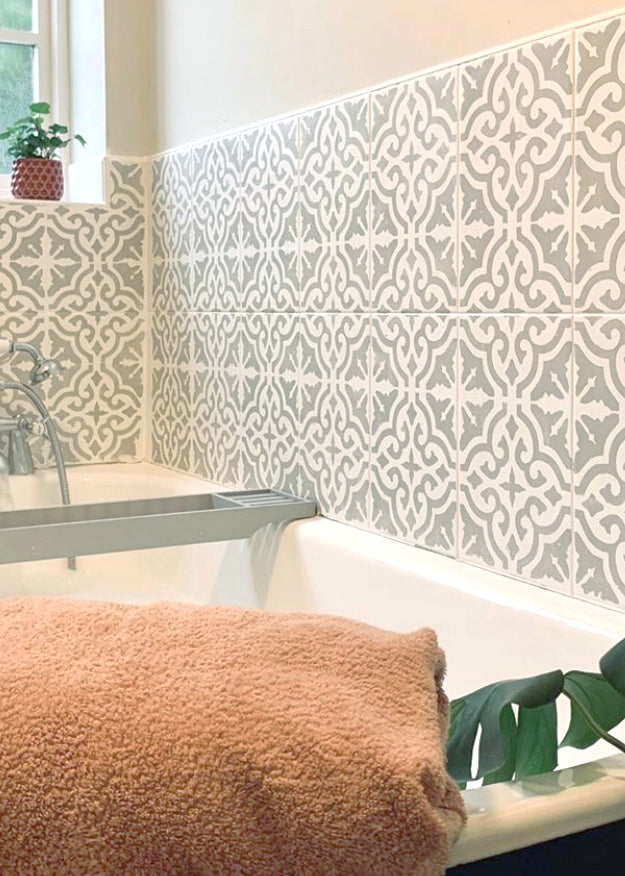
STRAIGHT
Ah nice and simple. Just choose the size closest to your measurements, and add a note to your order if we need to make any adjustments.
-
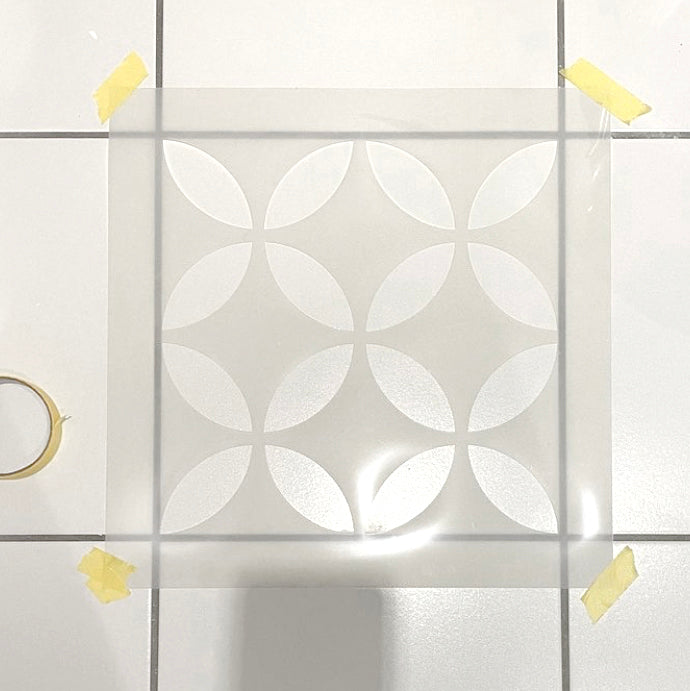
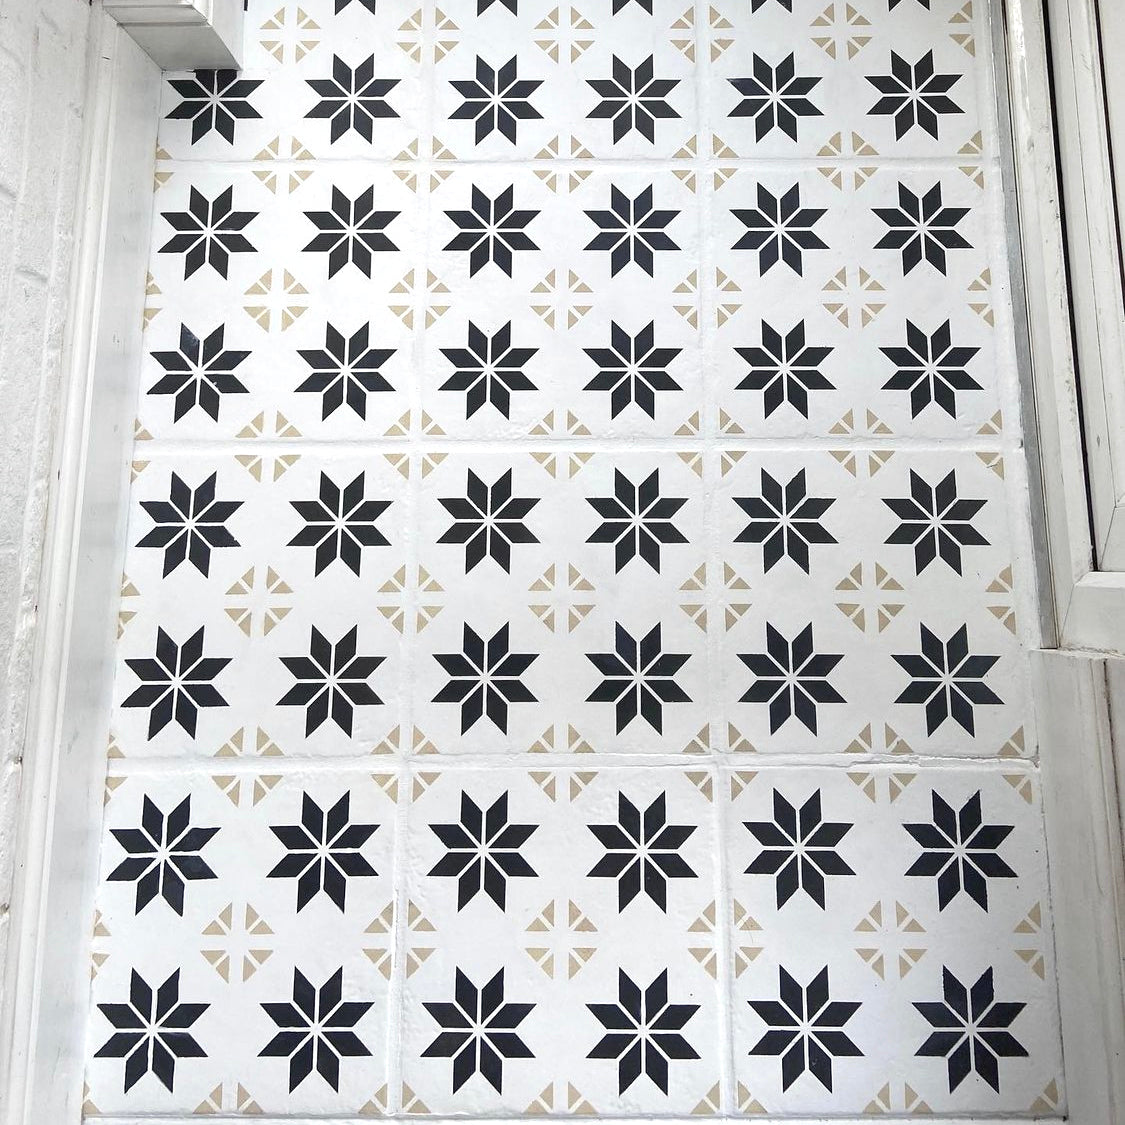
QUARTER DESIGN
This is a great option for smaller tiles. Create the illusion of larger tiles by using a quarter of the pattern repeated across 4 tiles. This can make your whole space feel much bigger.
Simply order the size closest to your measurements, then add a note to your order asking for a quarter of the design (don't forget to include your exact tile measurements).
-
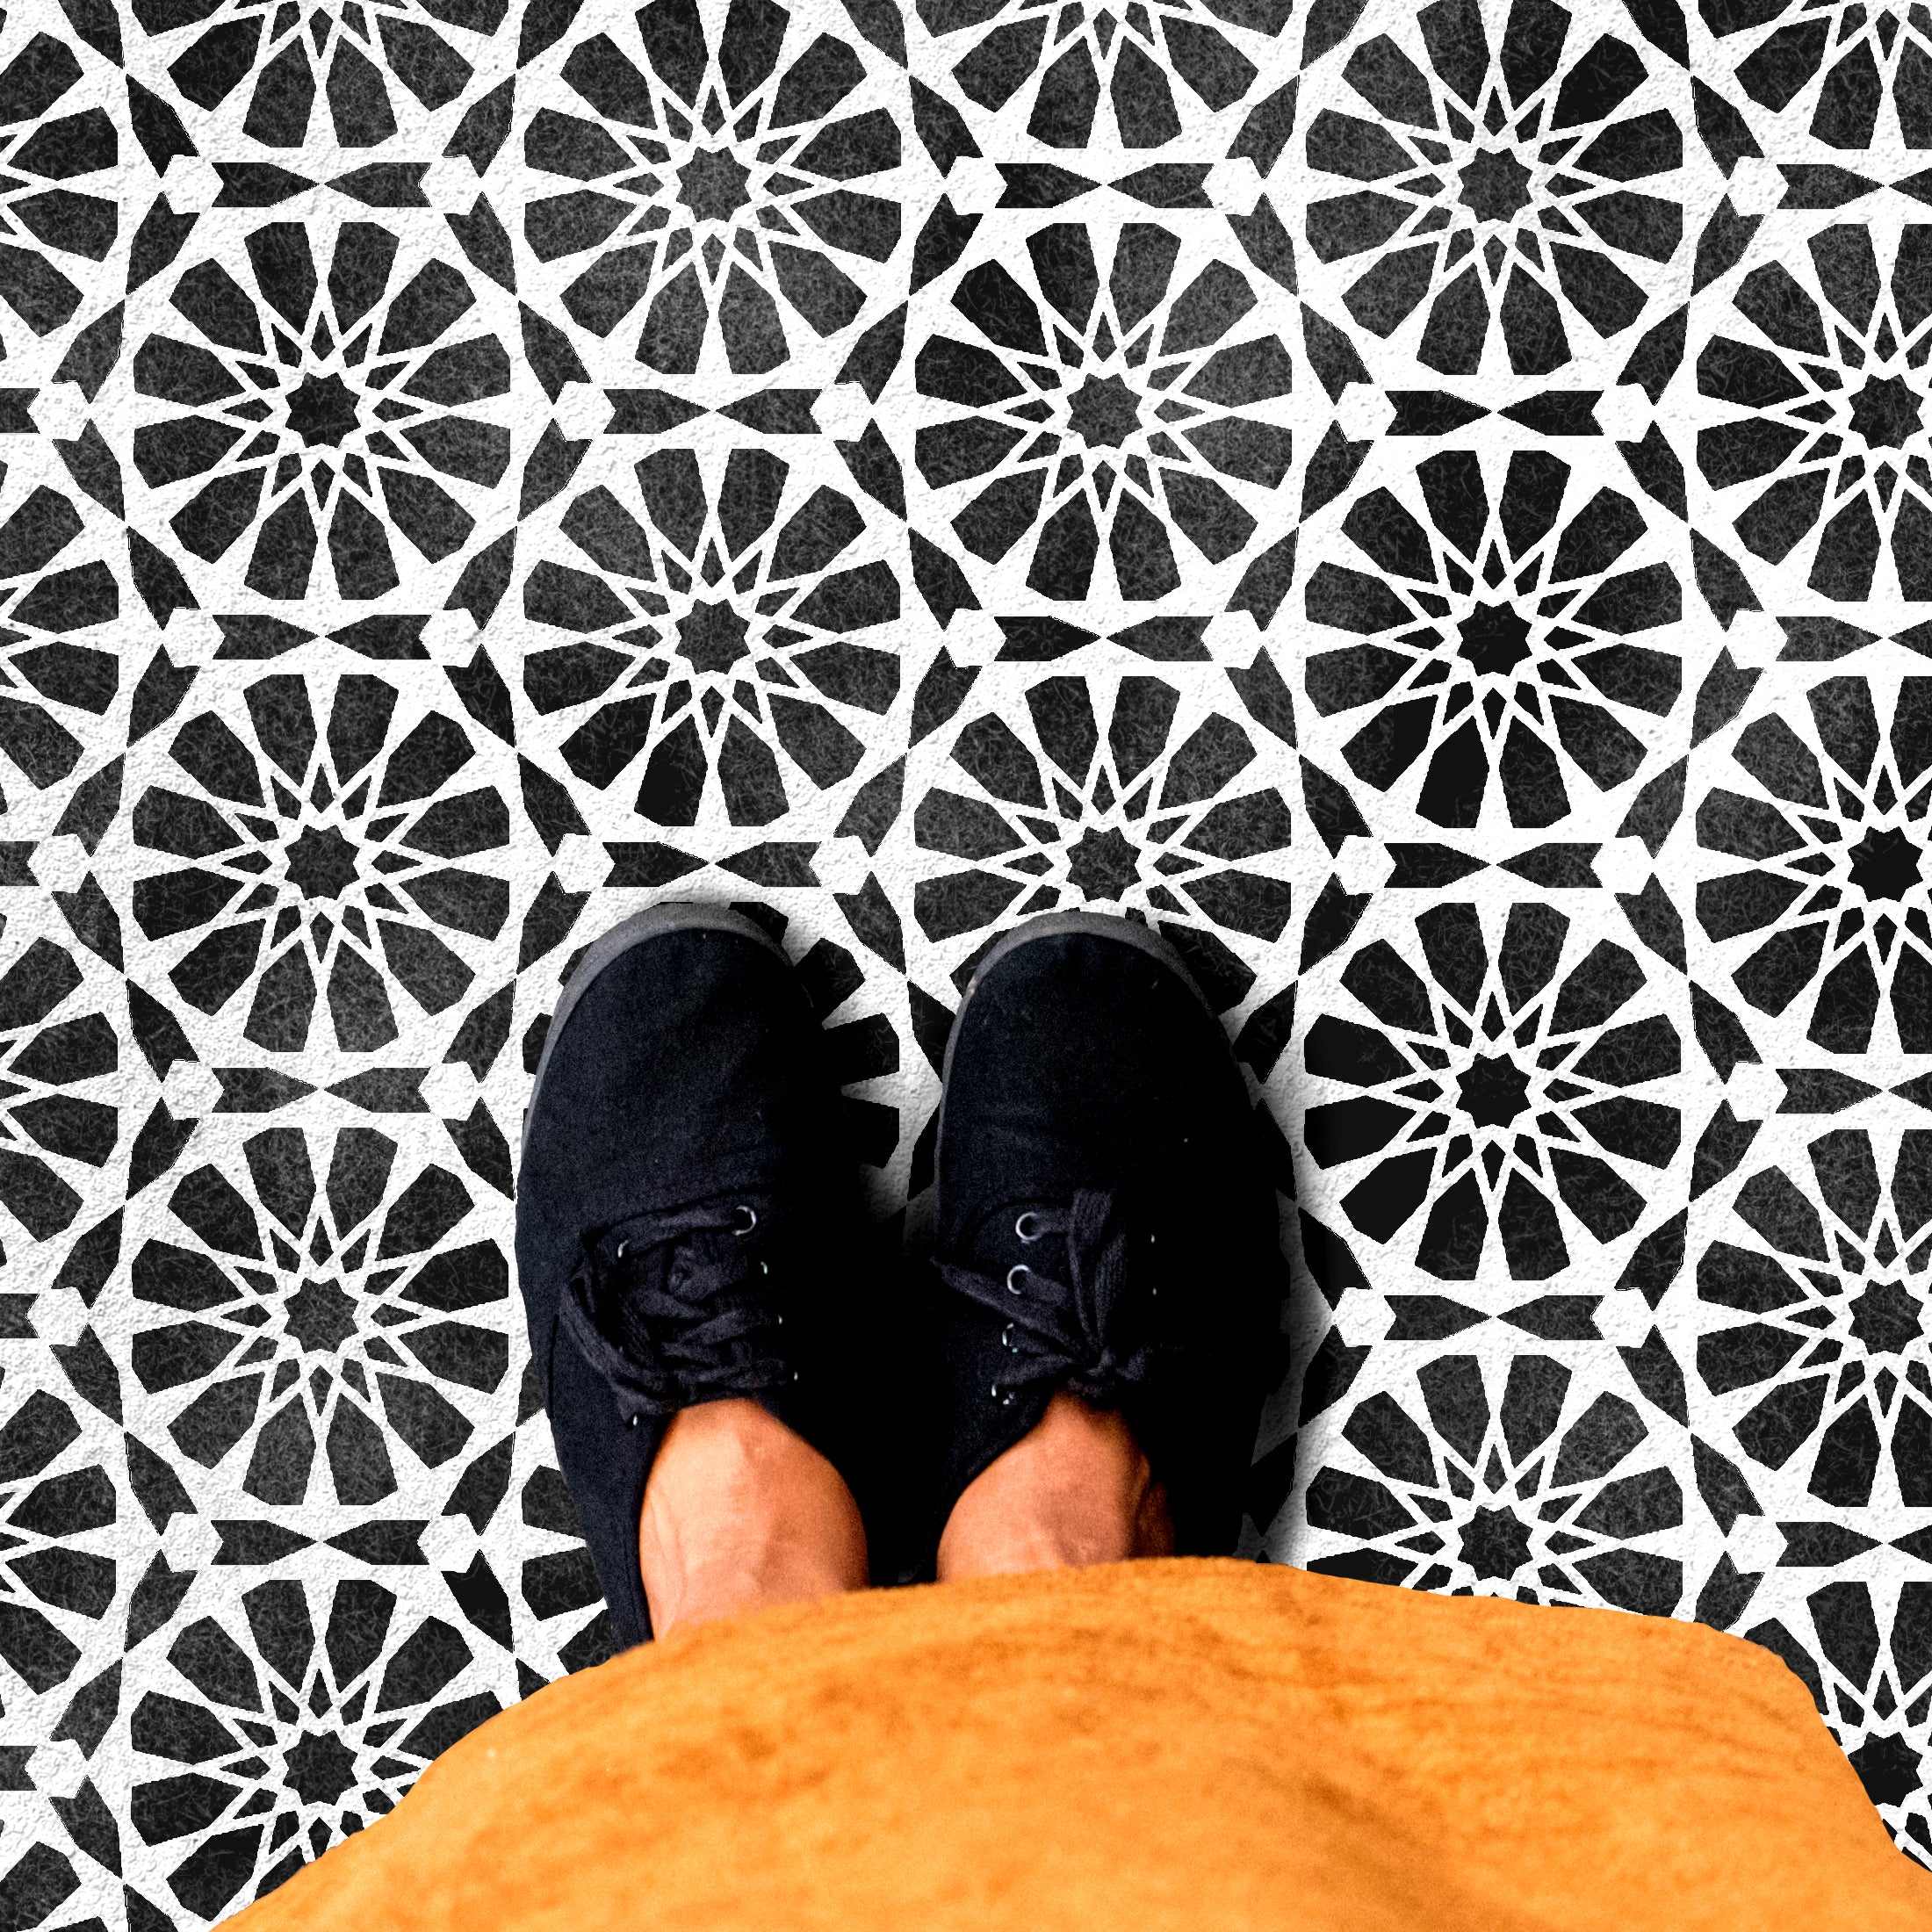
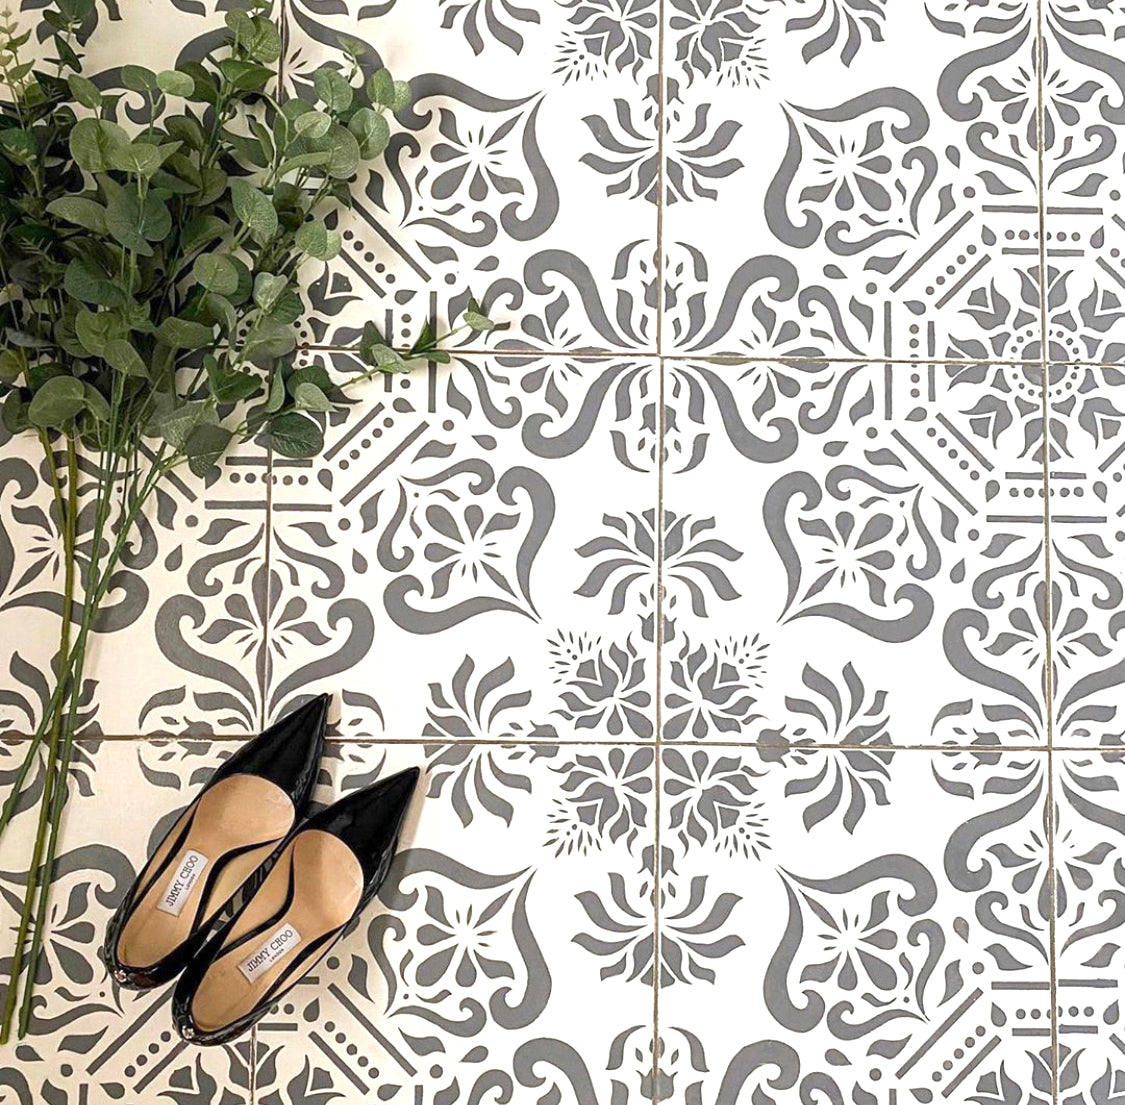
MULTI-TILE
If you have large tiles, you can use one of our multi-tile stencils to create the illusion of smaller tiles.
We will need your grout line measurement, so we can make sure the spacing between the tile patterns match up with your floor, for a seamless look.
Before you place your order, get in touch with a photo of your space, tile measurements and grout line measurement.


-
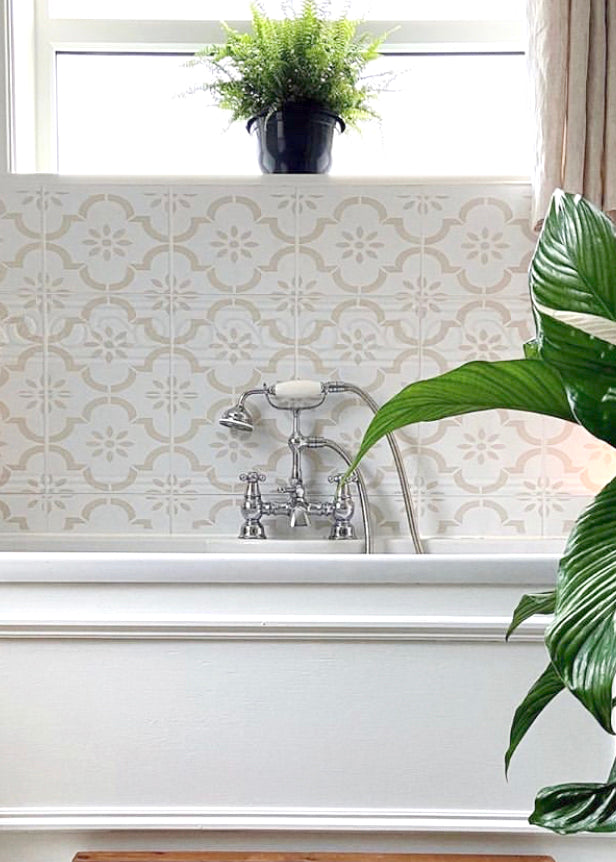
1 and 1/2 Square Design
You can use a custom stencil to fit one and a half square designs within each tile to give the illusion of square tiles.
This option only really works if your tile measurements are a certain ratio (1:1.5) if you're unsure on your ratio, just bob us a message with your measurements and a photo of your space.
-
Stretched Design
This is a great option if your measurements don't fit the 1:1.5 ratio.
We do have certain tile designs that look better stretched than others. But it really is all down to personal preference.
Some of our more simple designs, made up of only one or two shapes, can be adjusted to fit any measurement without compromising the design. If you want to look into this option get in touch with your measurements and a pic of your tiles.
-
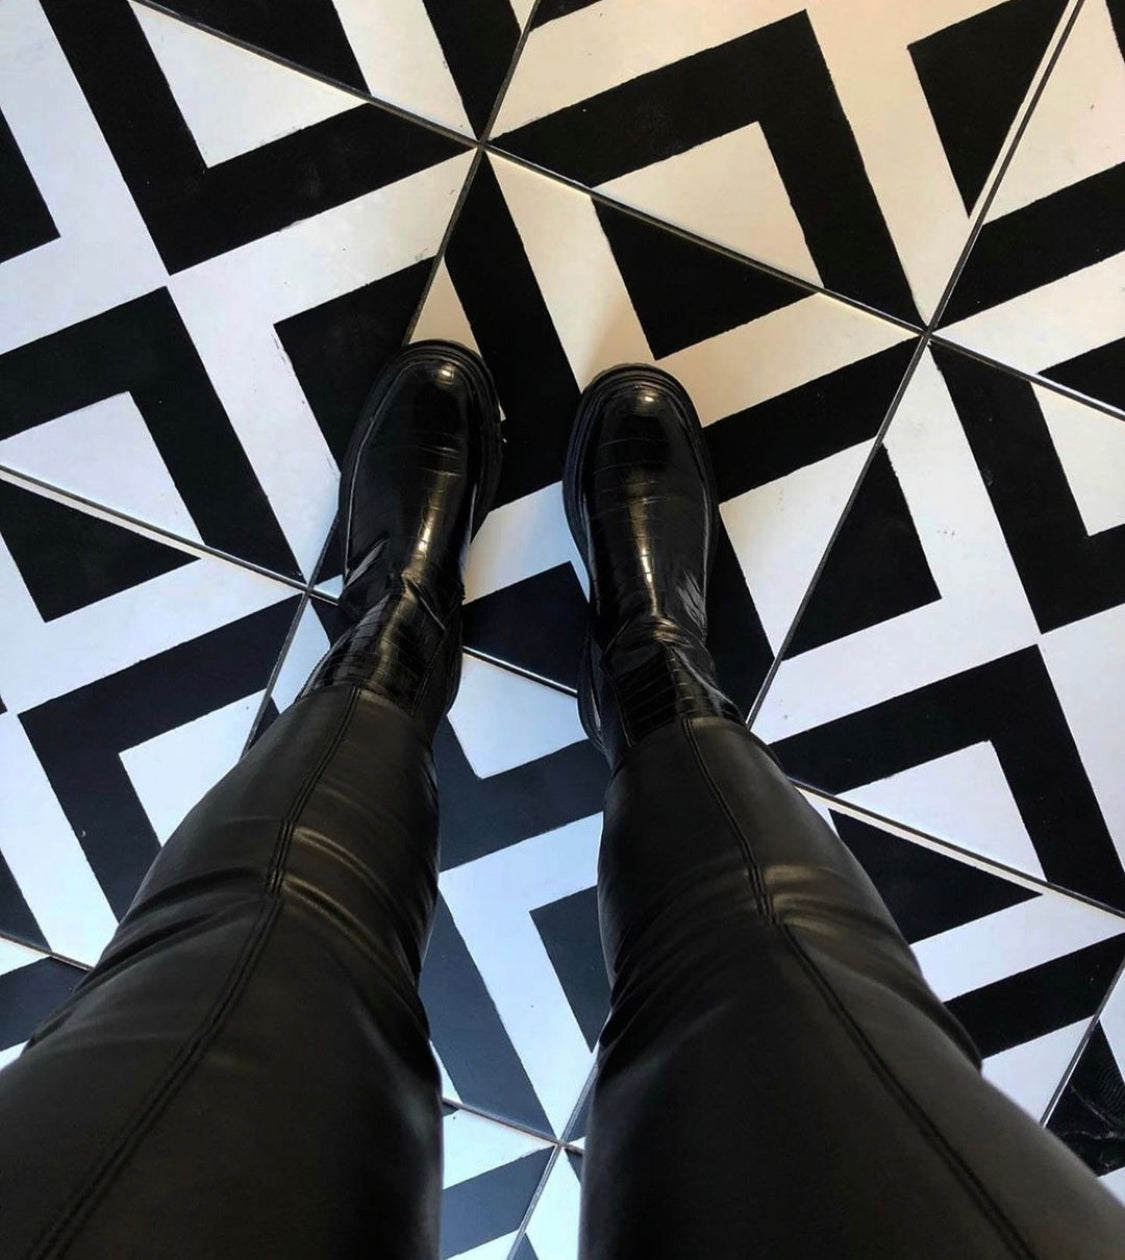
Staggered Tiles
Yes! You can stencil your staggered rectangular tiles!
You can use a stretched stencil design, working with your staggered tile pattern, as shown above.
If you wan't to disguise your staggered tiles, we can make you a custom stencil, using one of our simpler tile designs. Just send us a photo of your space with your tile measurements, and we can chat about which designs will work best for you.


IGNORING YOUR GROUT LINES