
PATIO PAINT ADVICE
-
PREP WORK
Before you even THINK about the paint you're going to use, you need to power wash your surface. Not scrub with soapy water. Mopping won't work. You need to POWER WASH your patio.
-
READ THE TIN - TWICE!
You can use the best paint in the world - and still have durability issues - if you don't follow the instructions on the tin. You want to be looking out for temperature, time between coats and total curing time.
-
WEATHER
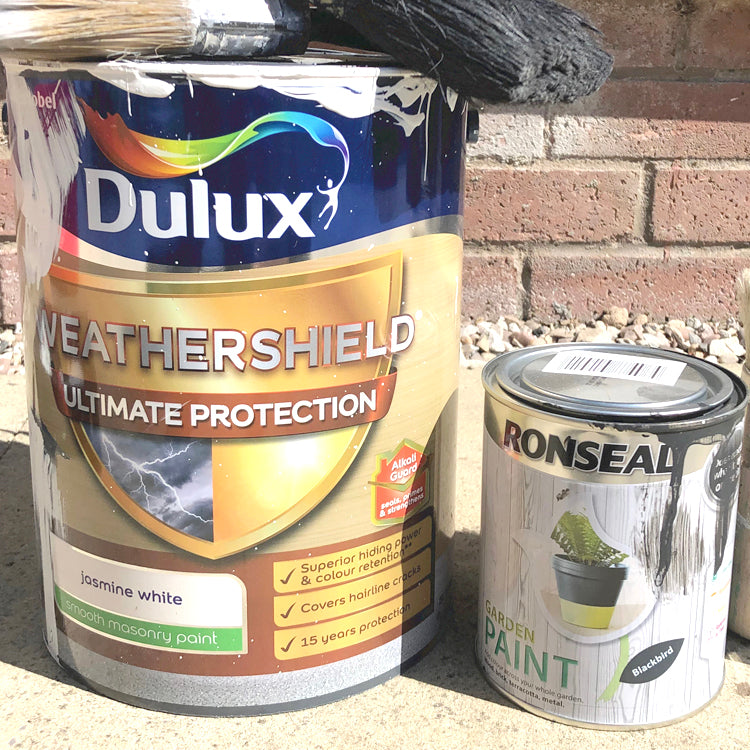
You need hot sunny days and warm summer nights. We used Dulux Weathershield for our projects and they recommend working in dry conditions above 10 degrees. So check the weather forecast before you start your project, and make sure to check nightly temperatures too.


-
CURING TIME
Slow and steady wins the race! You will need 2-3 coats of base colour, don't be tempted to rush this step, make sure you let each coat dry for the recommended amount of time. Most masonry paints need at least 4 hours drying between coats. This is key for durability.
-
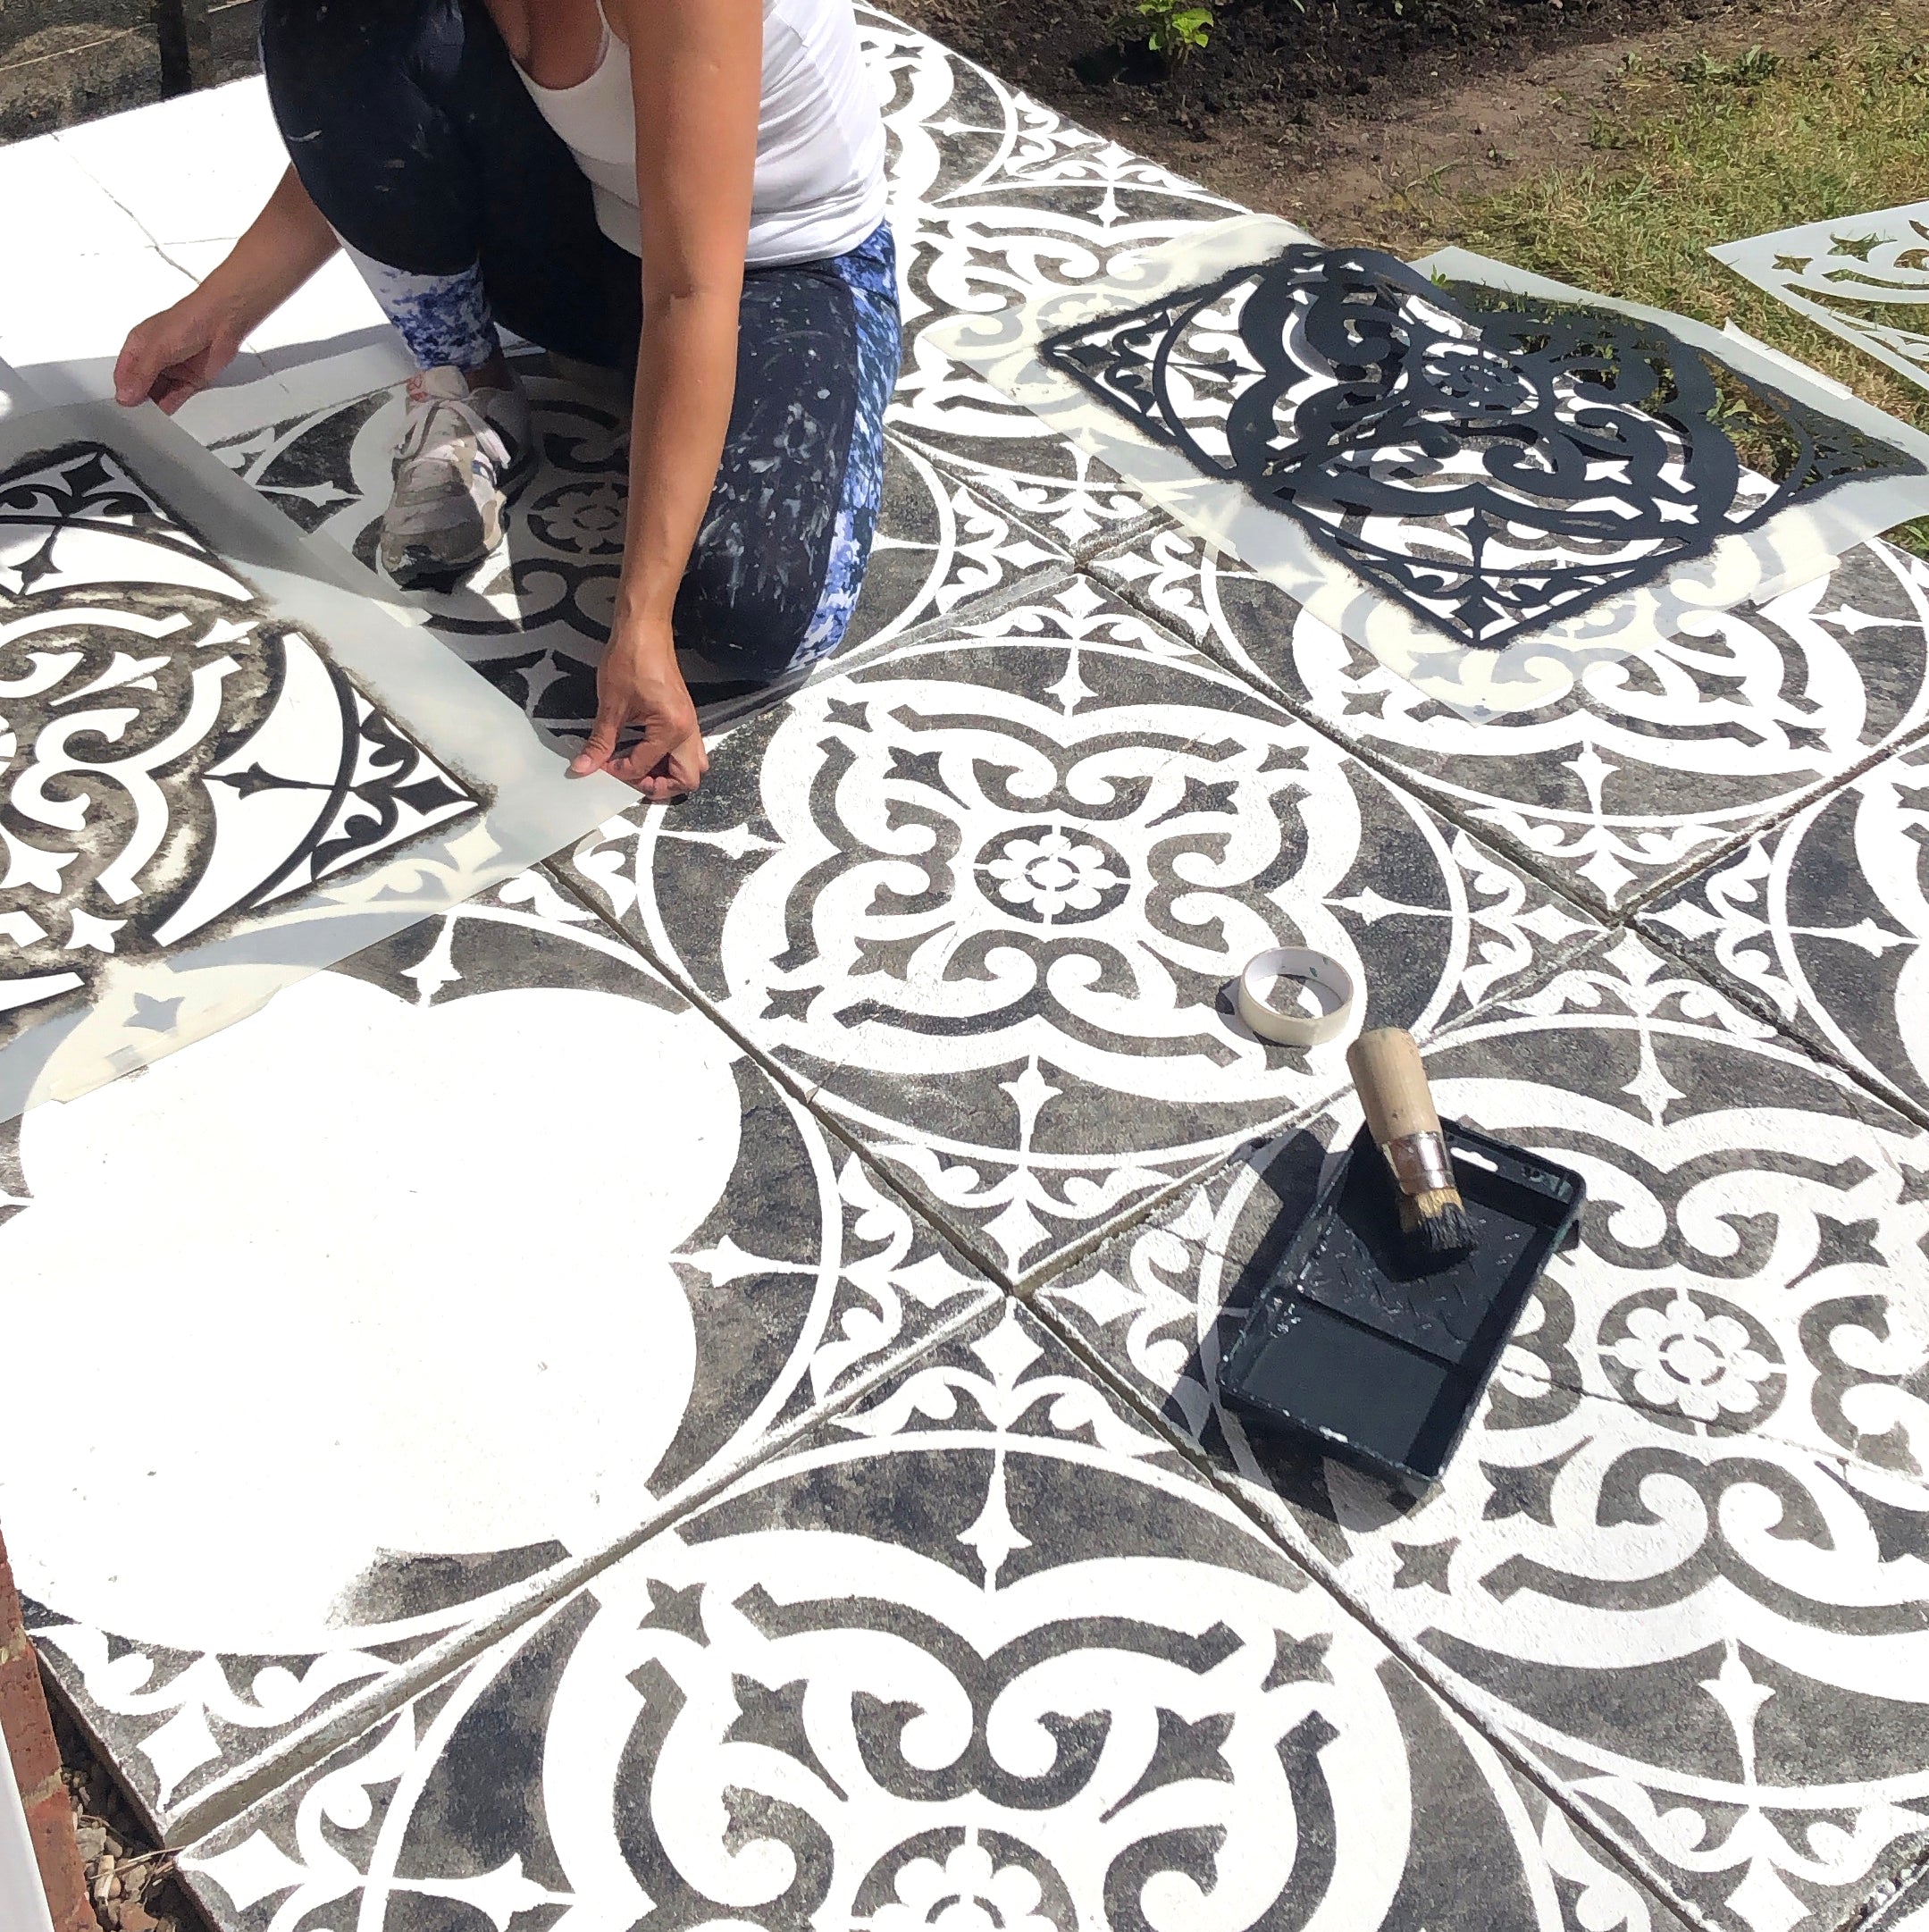
APPLICATION
Masonry paint is a thicker consistency than standard water based paint, so it is important to apply thin coats for the best results. Thick layers will not cure as well and will be more likely to lift and peel. We found that a brush works much better on rough textured concrete. But if your patio is smooth then you can get away with using a roller.
-
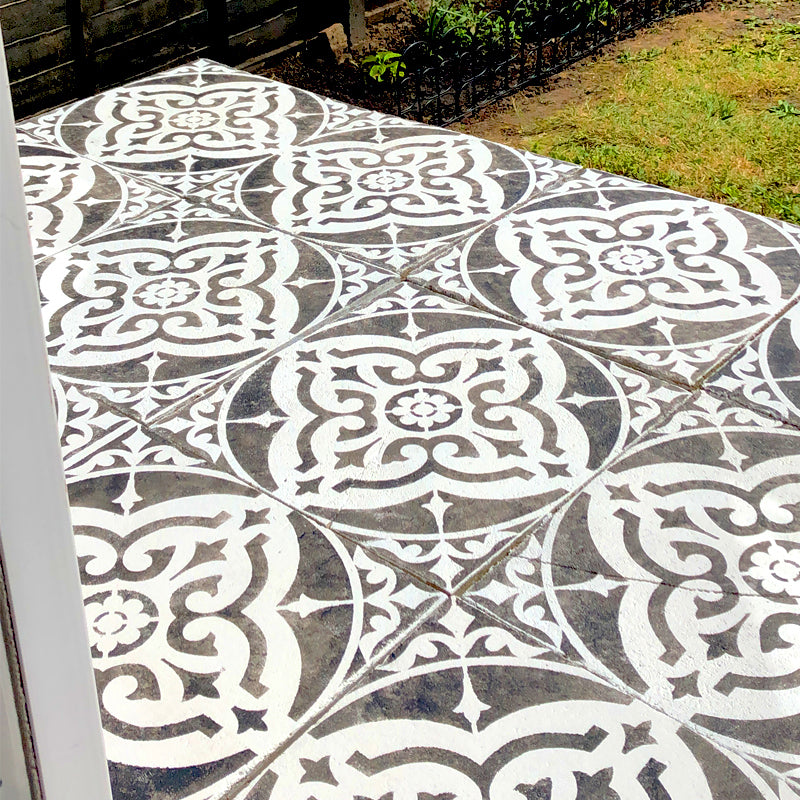
MAINTENANCE
If you follow the previous steps, you will get years out of your project.
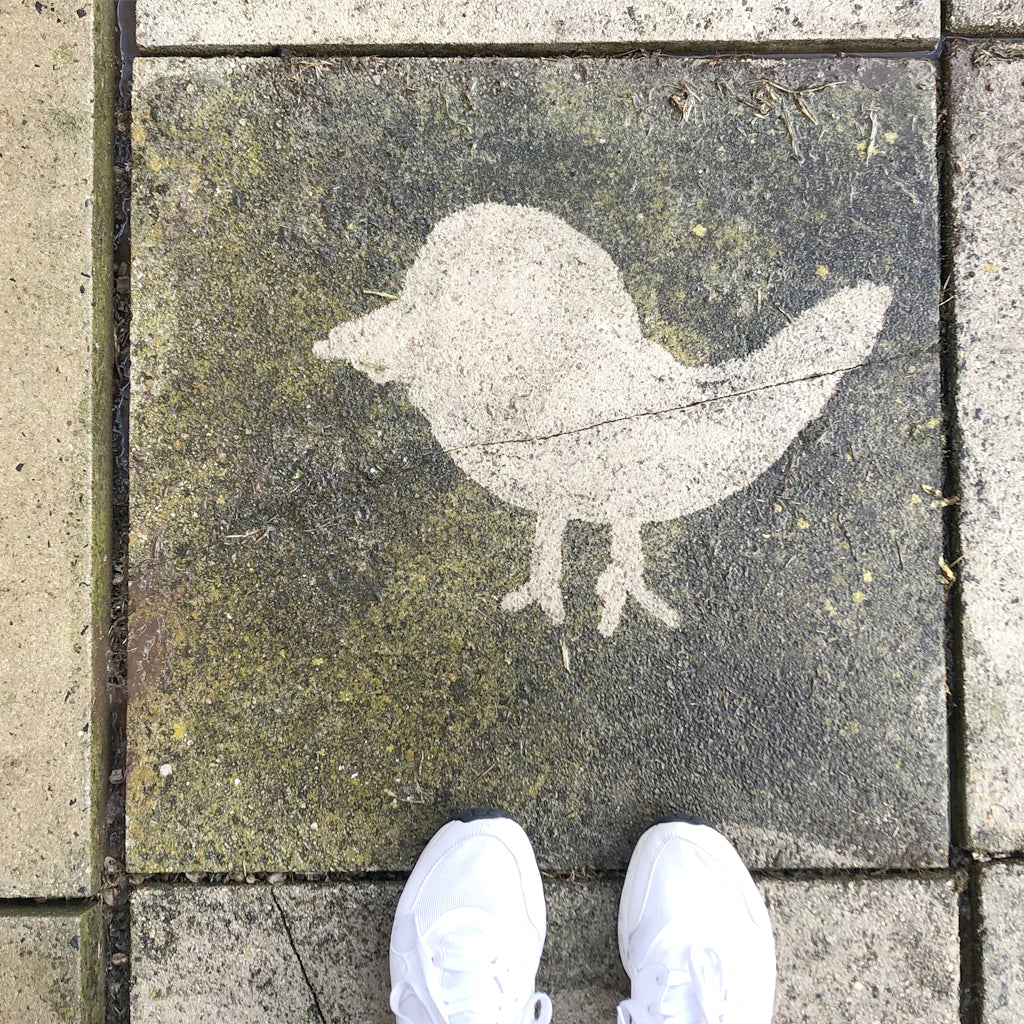
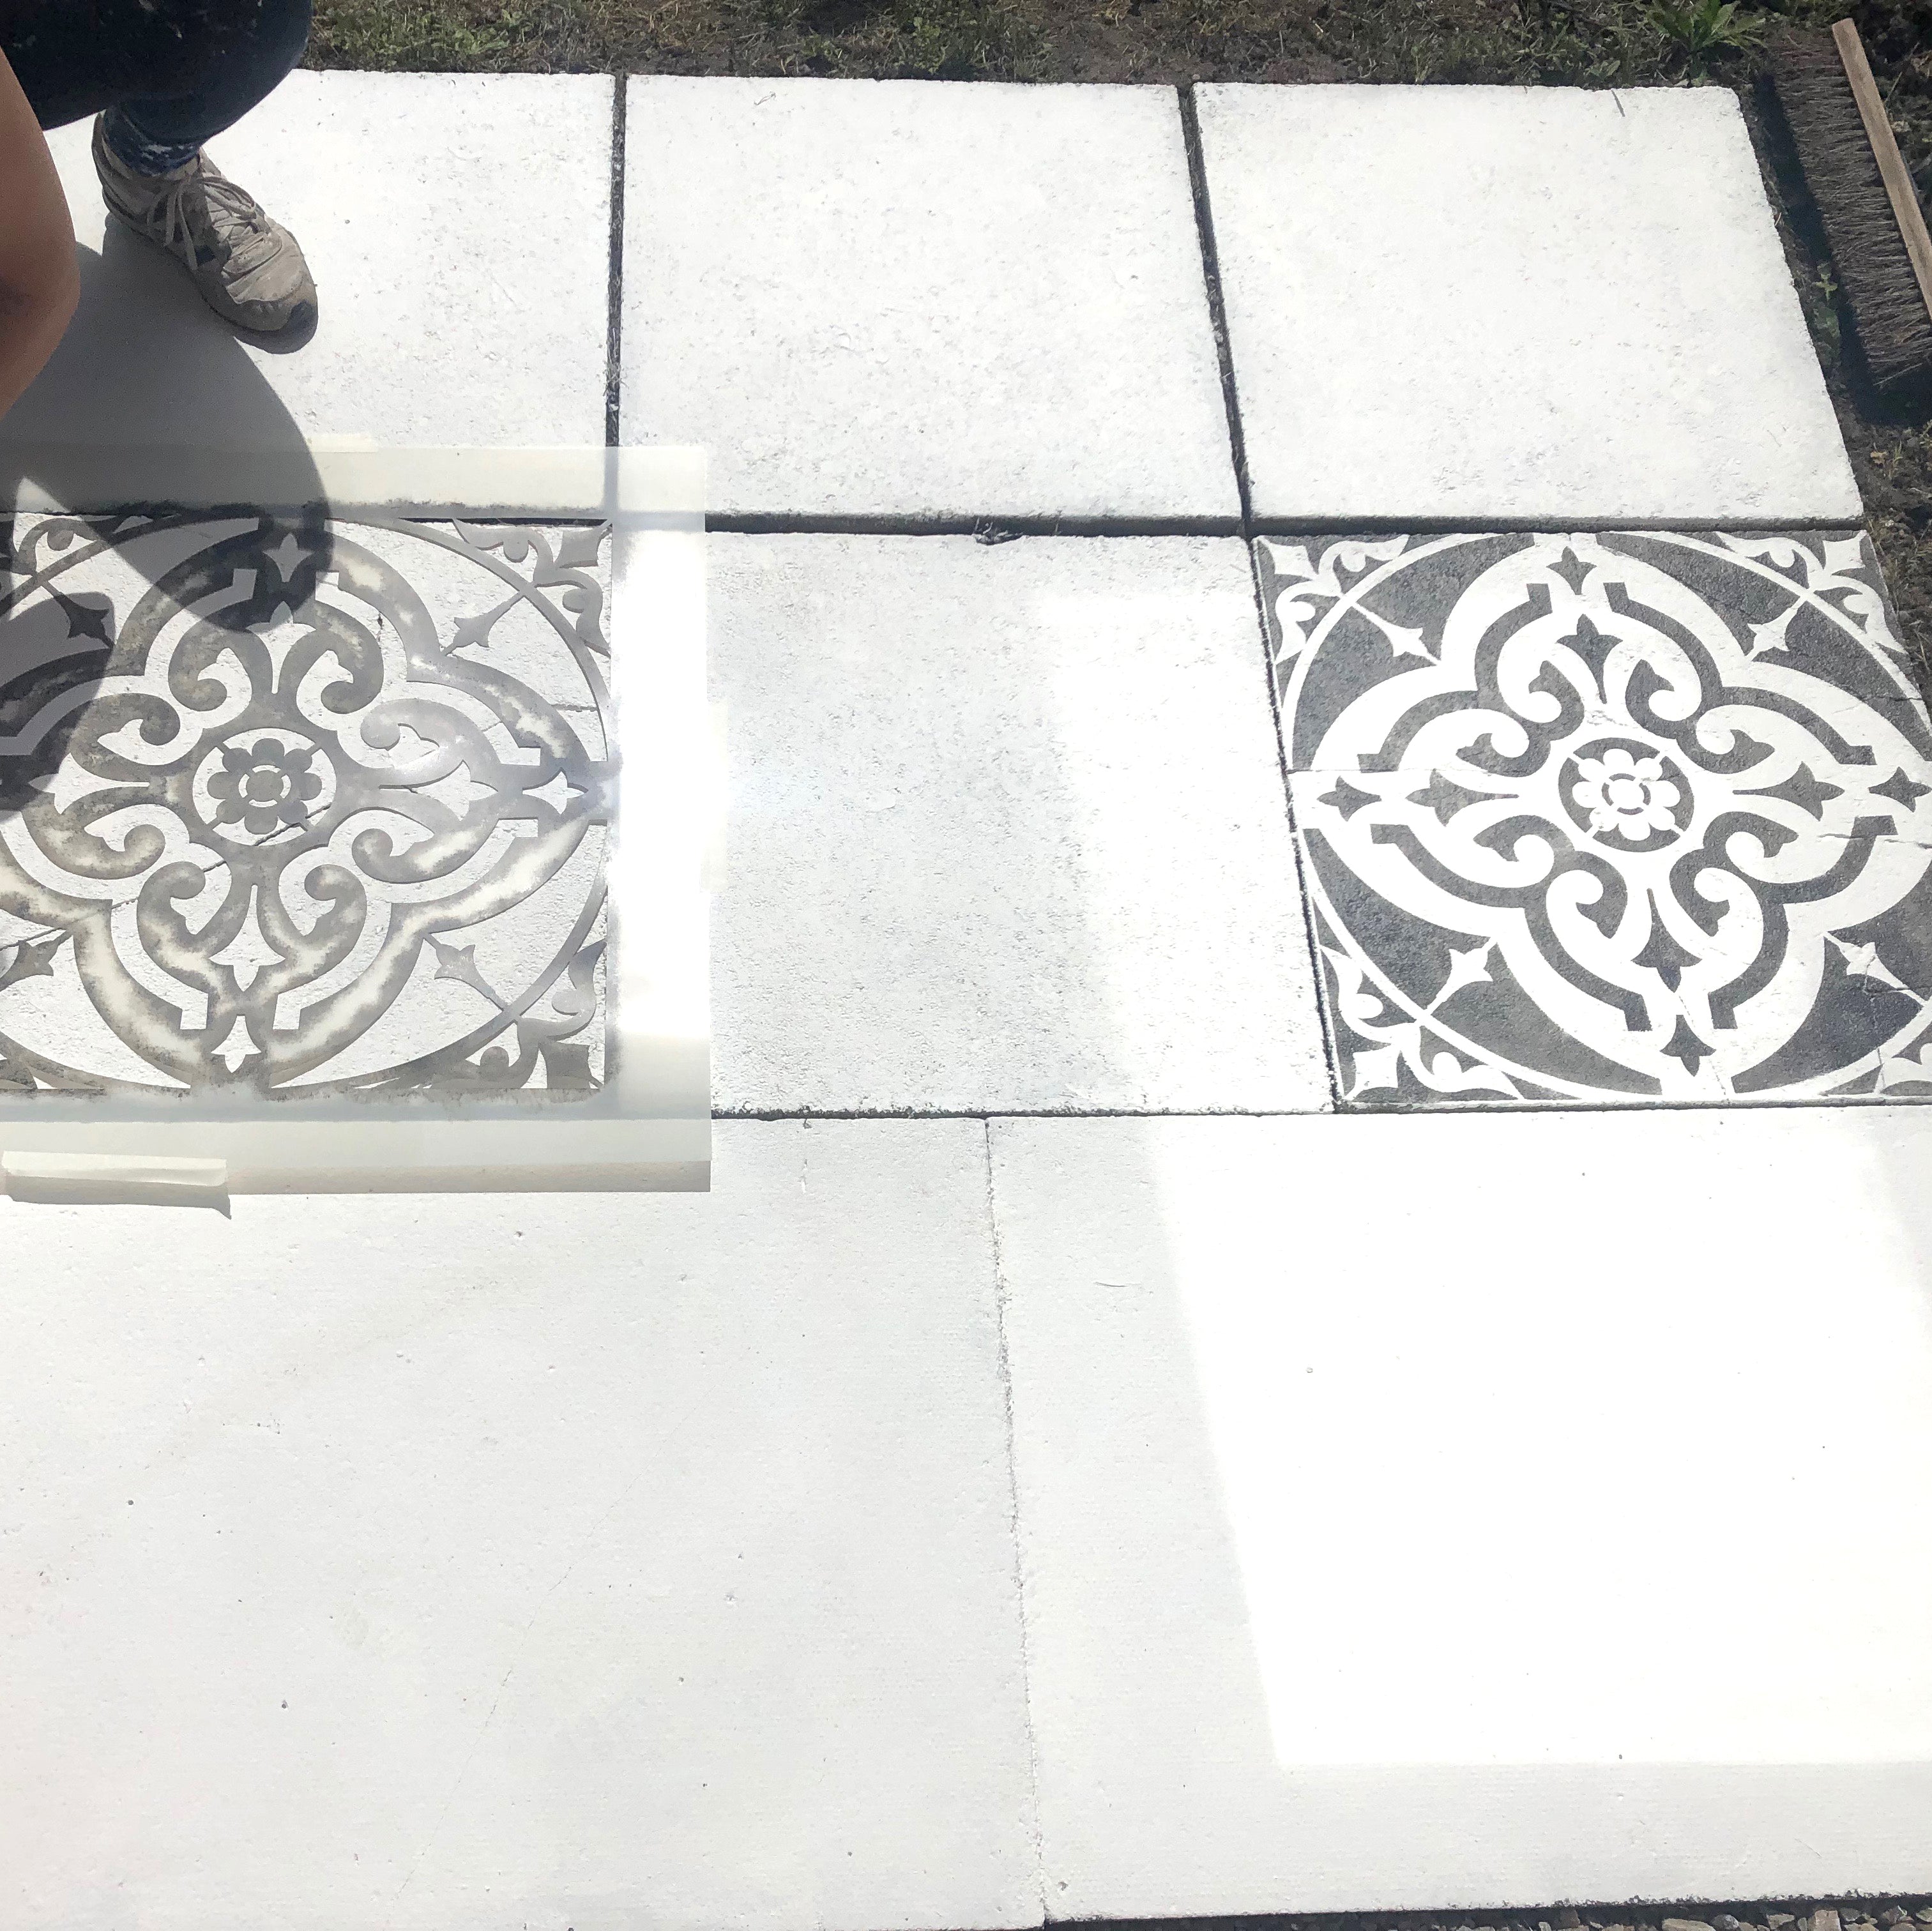
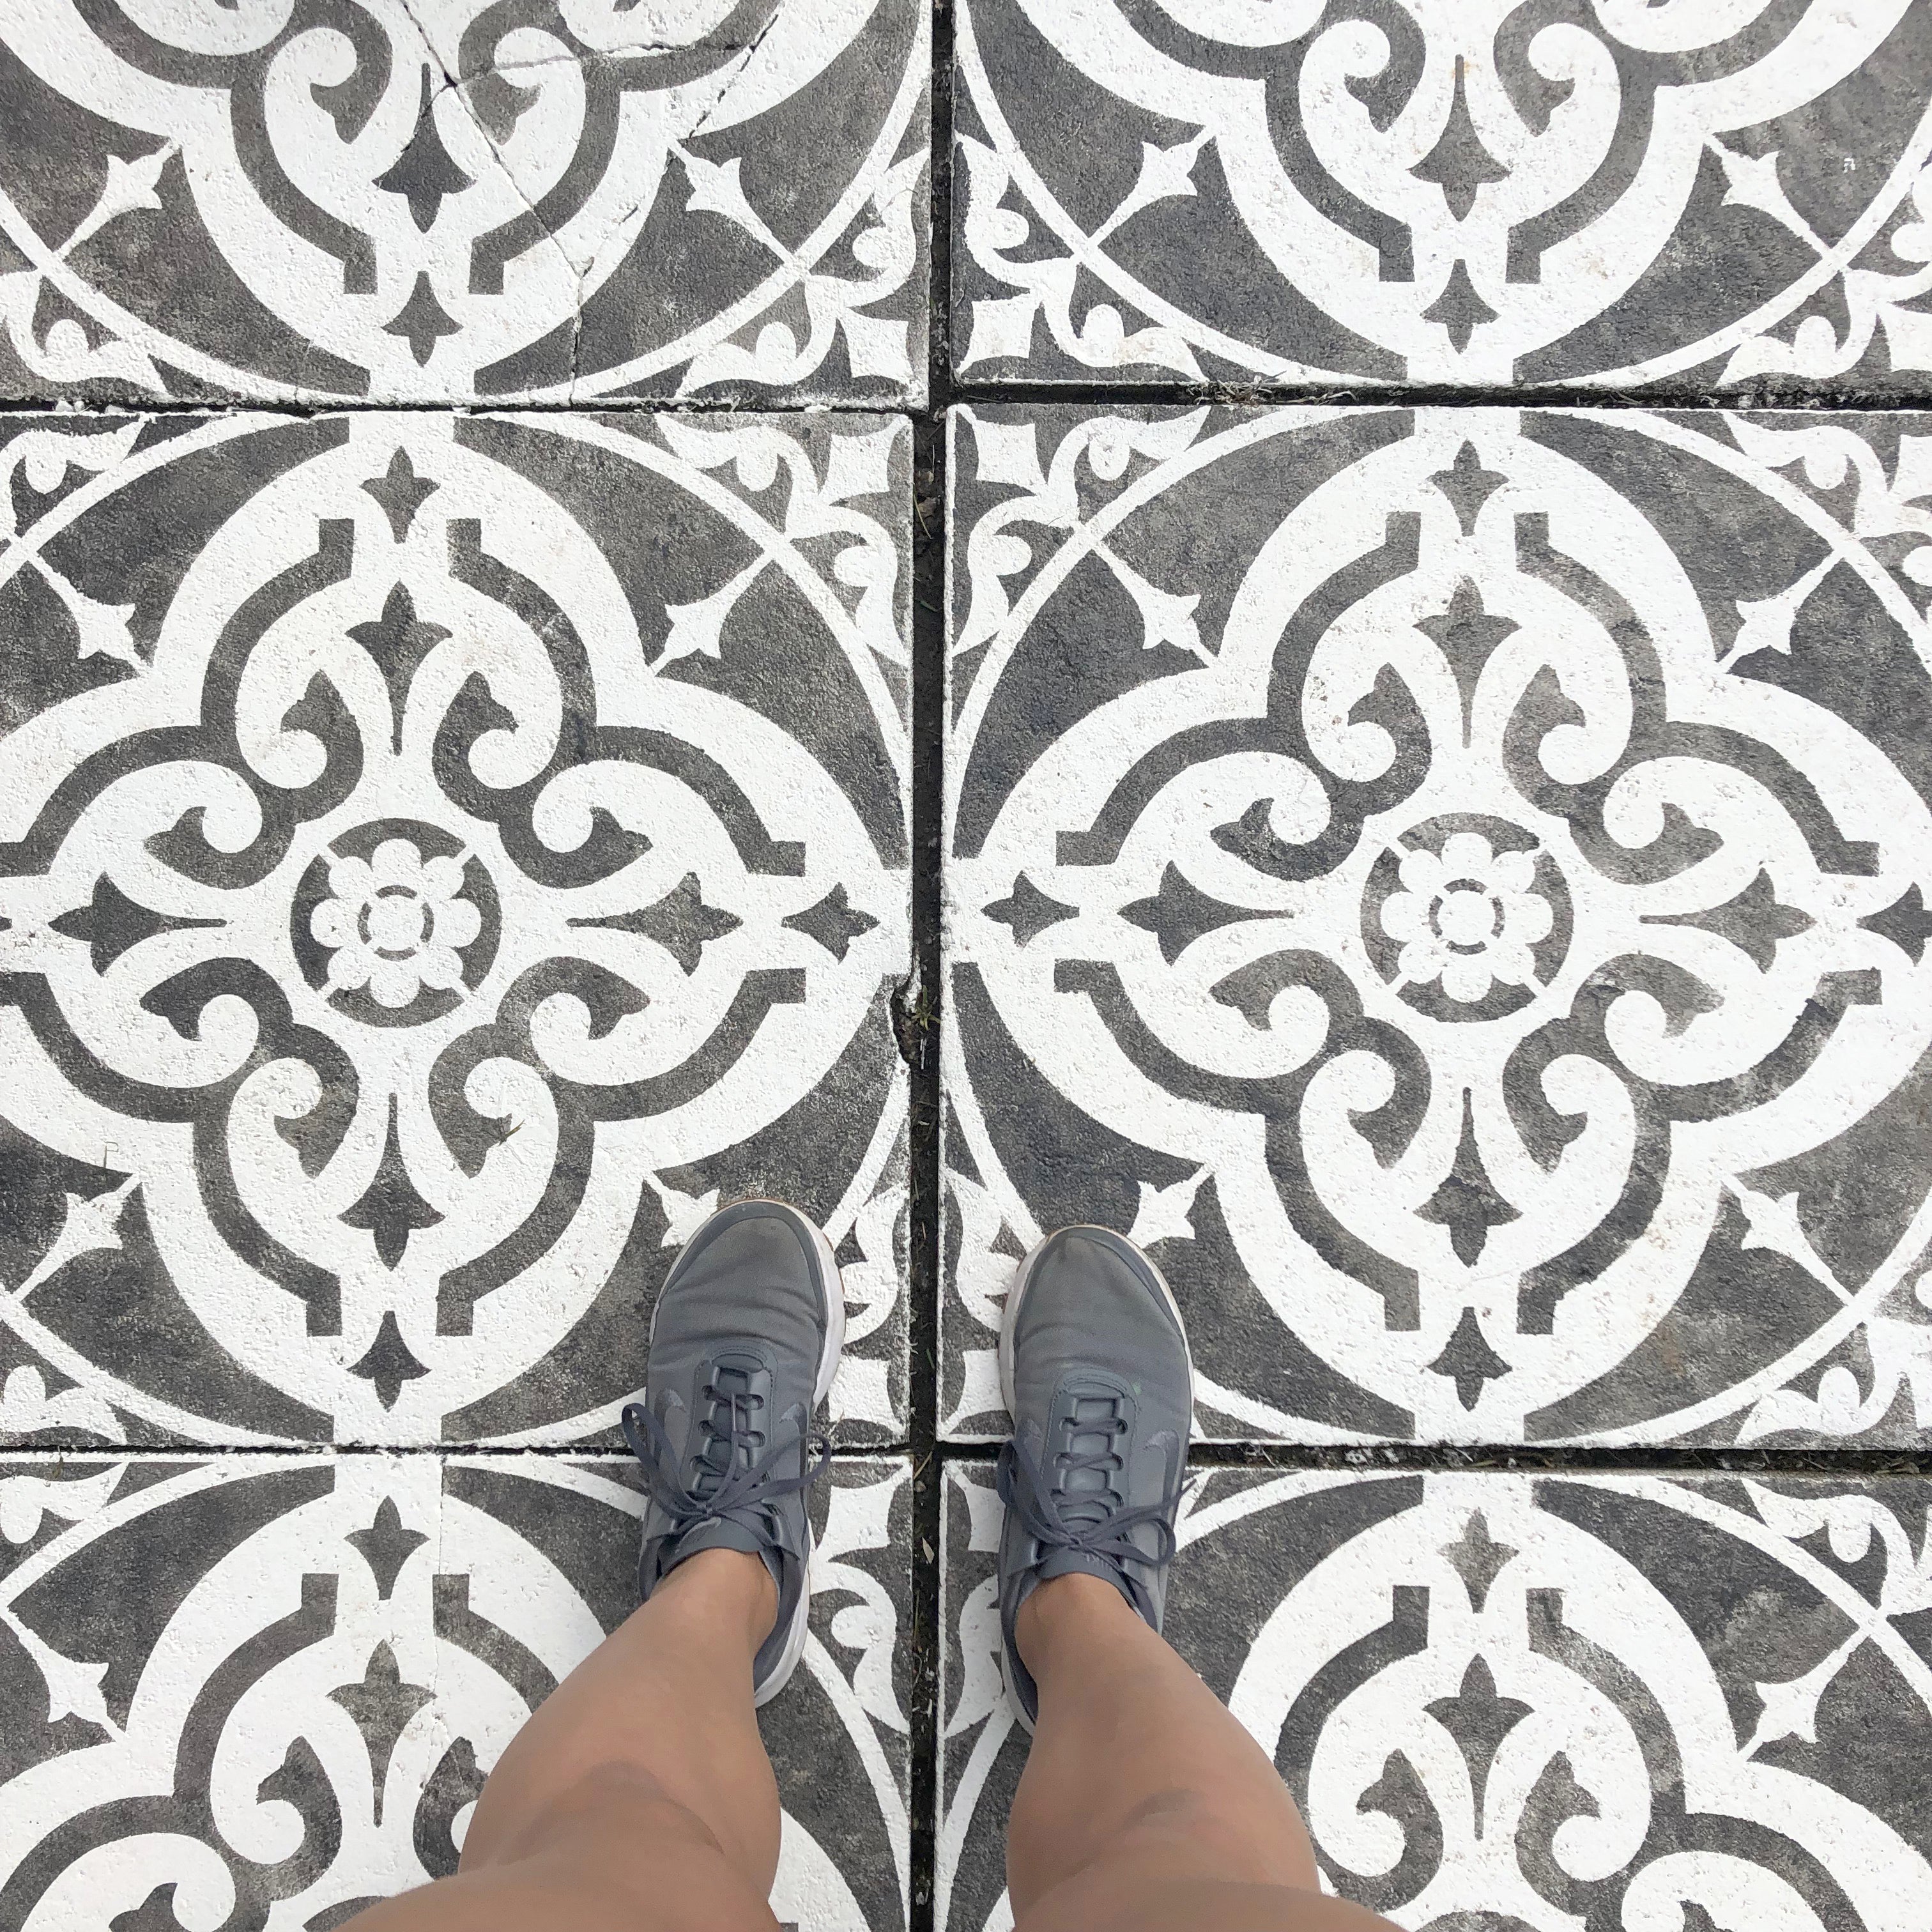
Here are some project examples of patios that have stood up to UK winters.
But understand that anything painted will eventually need a touch up.
Just like walls and woodwork, your patio will see some wear and tear over the years to come, and it will need some TLC from time to time.


