Scallop Border & Skien Wall Stencil Kit
Scallop Border & Skien Wall Stencil Kit
Couldn't load pickup availability
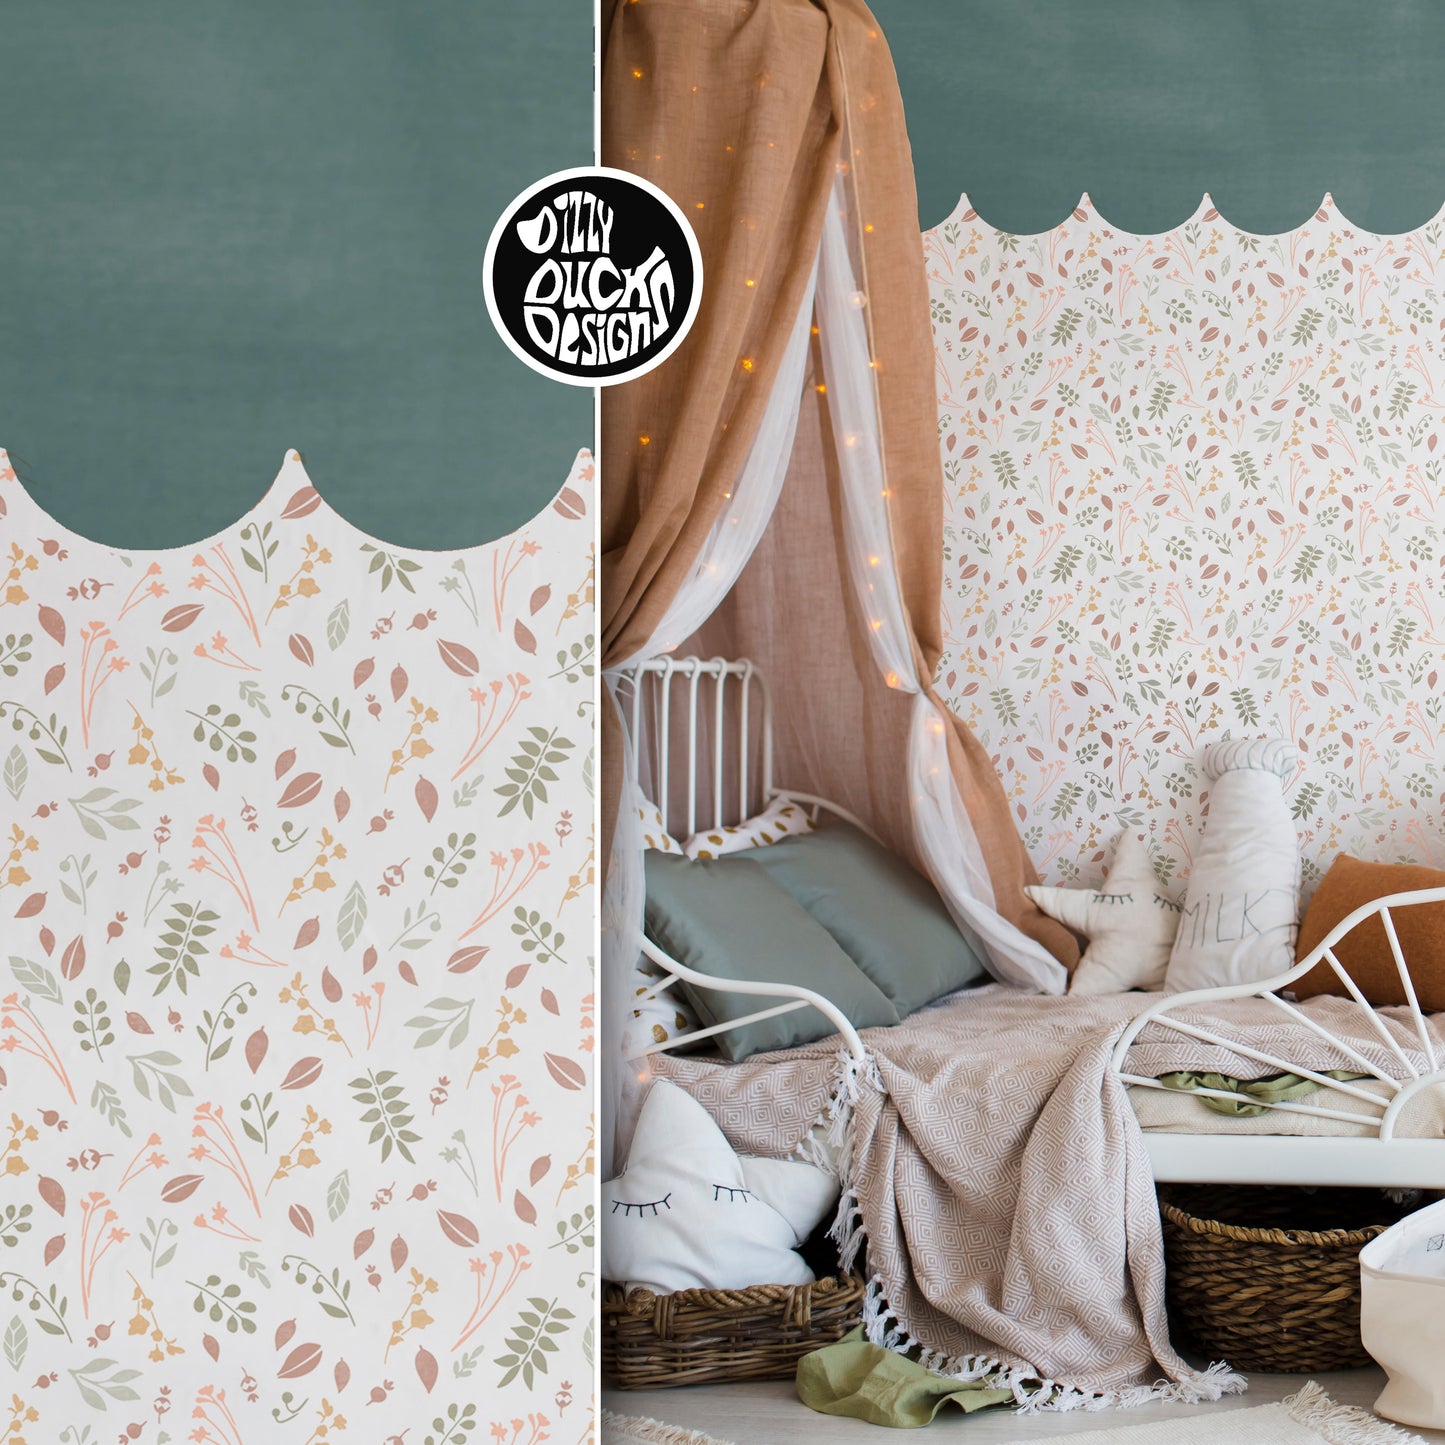
The scallop border is such an on trend nursery wall decorating idea. It's generally seen as a border around the bottom of the wall.
But then we came across an image in Ideal Home by Scion, showcasing their Garden of Eden range. We absolutely love the idea of teaming a top scallop border with a woodland wall pattern.
Cue, our Scallop Border & Skien Stencil Kit!
But if DIY stencilling with paint is not your thing then head over to Scion and check out their range of wallpapers and fabrics.
SIZES
Scallop height: 10 cm
Wall Stencil sheet: 57 x 62 cm
For more details on what you will receive check out the sizing image in the product images.
HOW TO STENCIL
1. Wall stencil
Stencil the wall pattern first. It doesn't really matter where on the wall your start. But we tend to start centrally at the top then work our way out to the sides and down the wall. Use decorators tape to hold the stencil in place.
For multi coloured pattern use a small or medium Stencil Brush for each colour. Or use a small dense foam roller for a single colour pattern.
2. Less Is More
Remember not to use too much paint or you will get bleed and blotchy lines! Check out our 'Less is More' advice below .
3. Wall Edges
You can bend the stencil into the side and bottom edges. We find it useful to apply some decorating tape along the edges of the walls, about 5-10 mm in from the edge. This will give you a nice clean finish and you won't need to get right into the edges.
At the top you don't need to get right into the edge as your scallop stencil will cover that space.
4. Scallop Border
To make sure your scallop edge is straight on the wall, use a spirit level. Decide how far down the wall you want the scallop to come and and mark the wall in several places with a pencil.
Stencil the scallop pattern across the top of the wall. Once the bottom edge of the scallop has been stencilled, fill in the rest of the top of the wall with a paint brush.
Basic stencil instructions are included with each purchase. But please do Get In Touch if you have any questions at all.
LESS IS MORE!
The number one mistake most people make when stencilling for the first time is using way too much paint, this leads to bleeding under the stencil, and no one wants fuzzy lines! It’s surprising how little paint you actually need. Apply a small amount of paint to your roller, and then roll off any excess paint on a scrap bit of paper/card. Your sponge needs to be touch dry, so paint only comes through when you apply pressure. The same applies when using a stencil brush. Practice first on some spare paper or card before attempting your project.
PEOPLE MATTER
You don’t just buy a stencil when you buy from Dizzy Ducks!
The backbone of our small UK family business has always been providing a high level of customer care. Without you we wouldn’t exist! So, if you need help with anything at all just get in touch :)
SHARING IS CARING
Share your pics on our Facebook group – a community where customers share their projects or come to get inspiration or advice. Or find us on Instagram and tag us into your posts. We love to see customer projects!
OUR STENCILS
Dizzy Duck Designs Stencils are an effective and inexpensive way to spruce up tired or plain walls, tiles, floors or furniture. We provide a wide range of reusable home decor stencils for painting. Whatever your stencil project, large or small and whatever style you prefer, we’ve got the perfect stencil for the job!
Share