
I don’t know about you but when I have my annual spring clear out I’m always throwing away the cheap plastic trick or treat tubs that have been collecting dust at the back of a cupboard, and then when Halloween comes round again, I always buy the same thing again in my weekly shop!
Well, I think its time to break that tradition. We’ve been trying to be more eco friendly as a household, and I came up with the perfect DIY trick or treat reusable bag!

What you will need:
- Fabric bag (any will do)
- Paint
- Stencil kit
- Stencil brush
-
Cardboard (an old cereal box is great for this)

I always have a spare fabric bag lying around, I think this was one I picked up in Primark yonks ago.
Start by choosing your stencil and mapping out your design. I’ve used our Halloween Craft Stencil Kit, this is great option because you get different designs to choose from. I went with the ghost!


Pop the cardboard in the bag to protect the other side when you paint.
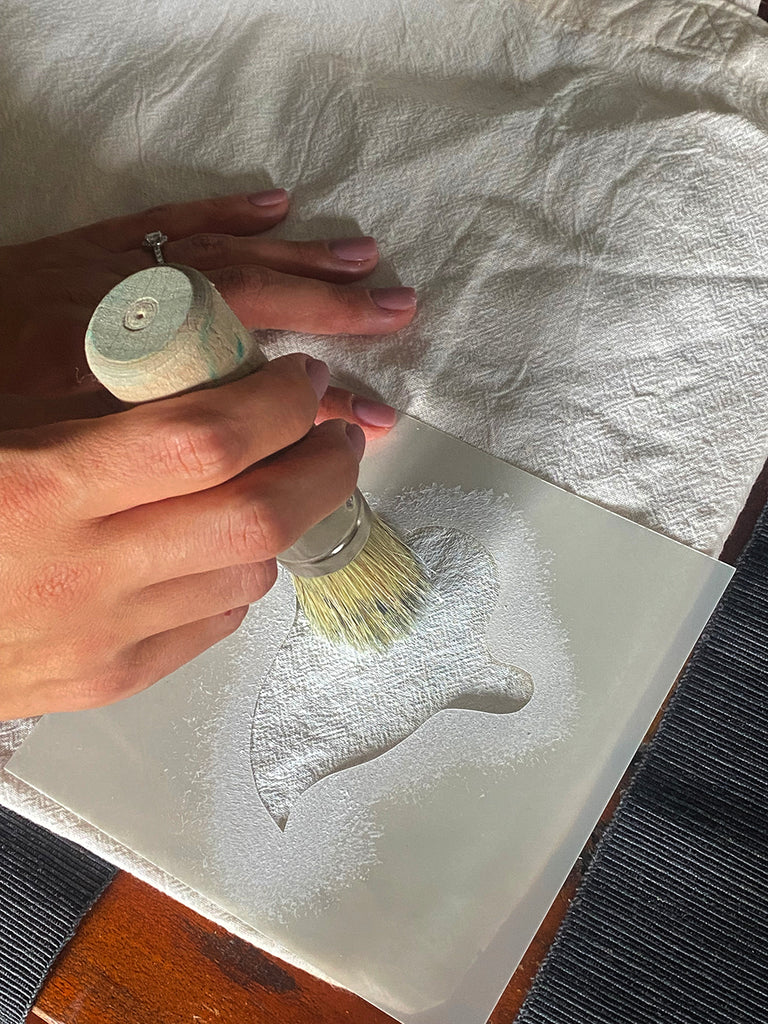
I used one of our Dizzy Duck stencil brushes, this has seen MANY projects so looks battered and bruised! But it works wonders and is my favourite.
Position your stencil and stipple the paint over the design, only using a small amount of paint at a time. That’s the key to great stenciling. Less is more!

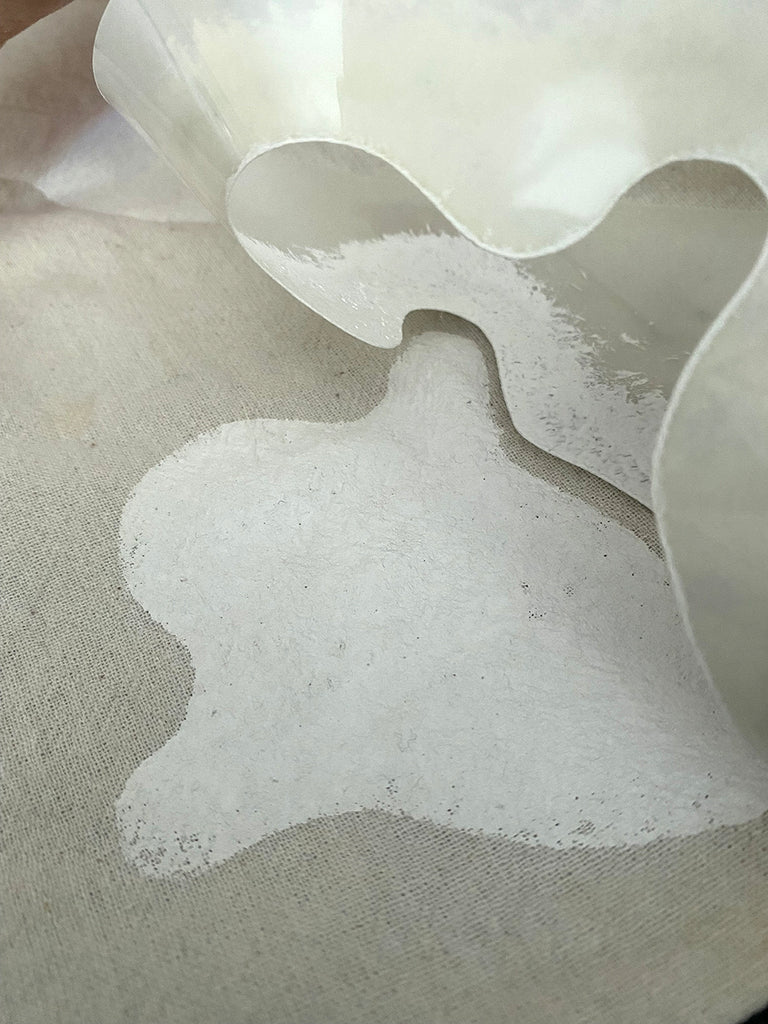
Once the paint is dry you can turn your bag over and do the other side. You can even add more details with a felt tip pen, or more paint and a small paint brush.


This project took me less than 30 mins and is so much cuter than the usual plastic tat I buy every year.

If you decide to give this a go, make sure you tag us in your socials so I can have a nosey!
Jasmin